Sometimes you just want something quick that hits. No extra steps, no mile-long ingredient list—just straight-up comfort that delivers.
This air fryer 3-ingredient cheese toast is exactly that. You’ve got bread, cheese, and a little butter (or oil), and somehow it turns into this golden, crispy, melty situation that feels way more legit than it should.
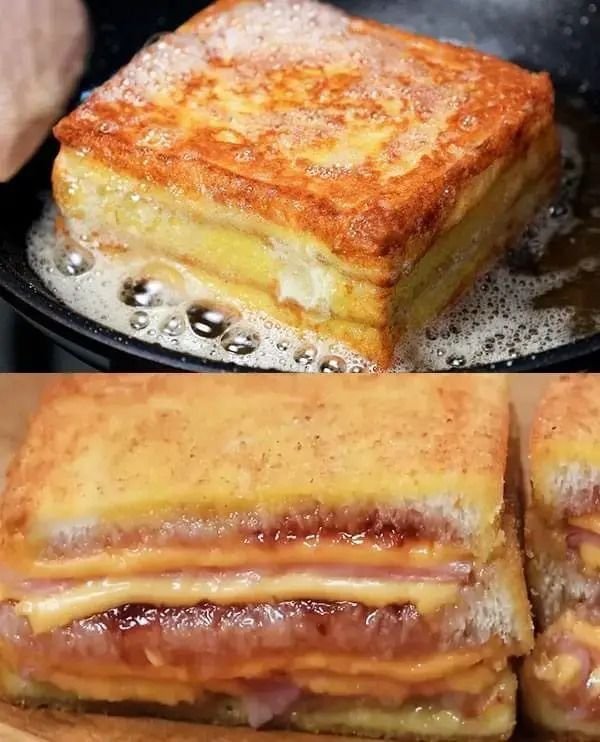
We’re talking crunchy edges, soft center, and that gooey cheese pull—all done in under 10 minutes. No stress, no cleanup nightmare.
Whether you need a fast breakfast, a lazy snack, or a late-night bite that actually satisfies, this one’s about to be on repeat.
Why the Air Fryer Low-Key Wins Here
If you’ve been making cheese toast the old way, this is your upgrade.
The air fryer:
- Browns everything evenly (no flipping drama)
- Melts the cheese without wrecking the bread
- Gets it done fast
- Doesn’t heat up your whole kitchen
- Delivers consistent results every time
A skillet can scorch the base before the cheese even softens. A toaster oven takes its sweet time. The air fryer? It circulates heat like a pro, locking in that perfect texture.
Why This Recipe Just Makes Sense
This isn’t one of those “simple but actually complicated” recipes. It’s legit easy:
- Done in under 10 minutes
- Crispy outside, melty inside
- Beginner-proof
- Easy to remix
- Budget-friendly
- Minimal cleanup
Make it once, and it’s basically locked into your routine.
Only 3 Ingredients—But They All Pull Weight
When you’re working with just three components, each one matters.
Bread
This is your base layer. It crisps up in the air fryer and holds everything together.
Cheese
The main event. It melts, bubbles, and gives you that rich, savory bite.
Butter (or Oil)
Adds flavor and helps the bread crisp up properly. Olive oil works too if you want something lighter.
That’s the whole lineup. Nothing extra, nothing wasted.
Picking the Right Ingredients (It Makes a Difference)
Best Bread Options
Different breads = different vibes:
- Classic white sandwich bread (soft + nostalgic)
- Sourdough (extra crunch + flavor)
- Whole wheat (more texture, slightly nutty)
- Brioche (rich and buttery)
- Thick-cut Texas toast (big crunch, soft middle)
Thicker slices stay soft inside. Thin slices go crisp faster.
Best Cheese Picks
You want something that melts clean and smooth:
- Cheddar (sharp or mild)
- Mozzarella (stretchy and mellow)
- Monterey Jack
- Colby Jack
- American cheese (super melty)
- Mixed cheeses for more depth
Pre-shredded works, but freshly grated melts better—no weird clumping.
Butter vs Oil
- Butter = richer flavor, classic finish
- Olive oil = lighter feel, still crispy
- No fat = works, just less golden
You only need a thin layer—don’t overdo it
Ingredients (Keep It Simple)
- 2 slices bread
- ½–¾ cup shredded cheese (or 2 slices)
- 1–2 teaspoons butter (or olive oil)
That’s the whole setup.
How to Make It (Quick Walkthrough)
Step 1: Prep the Bread
Spread a light layer of butter on one side of each slice.
No butter? Brush on a little olive oil.
Step 2: Add the Cheese
Flip the bread so the buttered side is down.
Add cheese evenly across the top—edge to edge, but don’t overload it or it’ll spill over.
Step 3: Preheat (Optional)
If you’ve got time, preheat your air fryer to 350°F (175°C) for more even results.
Step 4: Air Fry
Place the slices in a single layer.
Cook at 350°F (175°C) for 4–6 minutes.
Check around the 4-minute mark.
You’re looking for:
- Golden, crisp bread
- Fully melted, bubbling cheese
Want more color? Add another 30–60 seconds.
Step 5: Let It Sit for a Minute
Give it about a minute before eating—cheese sets slightly and won’t slide off when you bite in.
Then go for it.
How to Nail It Every Time
- Don’t crank the heat too high—bread burns fast
- Keep cheese slightly away from edges to avoid drips
- Check early—air fryers vary
- Use perforated parchment if you want easier cleanup
Texture Check (What You’re Aiming For)
Done right, you get:
- Crispy base
- Slight crunch around the edges
- Soft middle
- Melted, stretchy top
Simple combo—but it hits every time.
Easy Upgrades (Still Low Effort)
Once you’ve got the base down, switch it up:
- Garlic version – rub fresh garlic or add garlic powder
- Herb mix – sprinkle oregano, basil, or Italian seasoning
- Spicy kick – add chili flakes or a pinch of chili powder
- Sweet + savory – drizzle a little honey after cooking
- Crispy cheese edges – let some cheese spill over for that crunchy frico vibe
What to Pair It With
This isn’t just a snack—it fits anywhere:
- With tomato soup or creamy soups
- Next to eggs for breakfast
- As a side for salads
- Cut into strips for dipping
- Quick grab-and-go bite
Storage + Reheat
Best eaten fresh, no question—but if needed:
- Store: fridge for up to 1 day
- Reheat: air fryer at 325°F for 2–3 minutes
Skip the microwave—it kills the texture.
Common Slip-Ups (Easy Fixes)
Burnt bread, cheese not melted
→ Heat too high
Soggy texture
→ Too much butter or cheese
Cheese flying around
→ Shreds too light—press them down slightly
Final Take
This is one of those “why didn’t I do this sooner?” recipes.
Three ingredients. Almost no effort. And somehow you end up with something crispy, melty, and seriously satisfying.
It’s quick, it’s flexible, and it just works—every single time.